Tuesday 17 December 2013

34 Image Manipulation

Paul M Smith - Paul M Smith is probably well know for this picture, which is Robbie Williams' album cover for Sing When You're Winning which came out in August 2000.

 
Paul M Smith did a few pictures of Robbie Williams with the whole football hooligan theme, and considering the majority of Smith's pictures consist of him, I find the Robbie William pictures really interesting as he didn't do many celebrity pictures. 


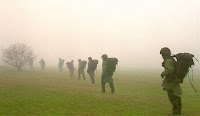
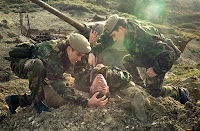
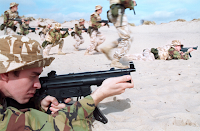
Paul M Smith started out by joining the Royal Engineers to start five years of service as a combat engineer at 16, which was the start of his  "interrogation of the many-headed beast that is masculinity, of what it means to be a man. The most immediate subject of this enquiry was naturally to confront his own reasoning for joining the army".   In other words, It was the start of the Image Manipulation series with his images consisting of more than one of himself.  This series is called Artist Rifles.


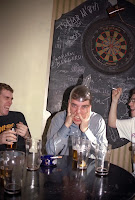
He then continued on to do something called Make My Night which is a series of images, again consisting just of himself, recreating a 'laddish' night out. They're all stereotypical pictures you would see on a night out with fights brewing, pints spilling and sick spewing.  I enjoy these images more than Artist Rifles just because I feel these are more entertaining and looked more enjoyable to create. Although I understand the Artist Rifles series more than I understand the Make My Night Out series. 


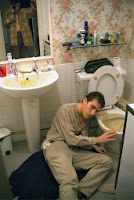
We did our own version of his work, and to start off with we did a 'tester' one at college just to get use to the photoshop skills. 


There were a few spots where I felt I could improve, and they were just a few layering issues but overall for a first go I was impressed with how it turned out. 

How I made the image- Taking the picture.

  • Set your camera up on a tripod, it is important the camera does not move and you keep the same frame for each image.
  • set your camera to manual focus, it is important that the focal point doesn't change because as you move the focal point will follow you. 
  • It'll be easier if you set your camera to Aperture Priority and set the Aperture to f/8.  The Aperture Priority will set the shutter speed for you so you don't need to worry about that. 
  • It might be worth setting markers somewhere so you don't obstruct or overlap yourself.
  • for the best image, weird is always good, so change your clothes and tell a story.
Creating the image.
  • Open up two of the images in photoshop and choose one as a main base image, then drag the other image tab away so it becomes separate window. 
  • drag the window so it's onto of your base image, it should then join in with the other image. 
  • change the opacity so that you can see both images, this will then allow you to line up the images so that they are in the same position.
  • you then erase only one of yourself in the image. This bit will need a lot of attention to detail otherwise you'll end up with a 'glow' around yourself.  It will also be easier to zoom in to see what you're doing and if it helps to change the brush softness and the brush type. 
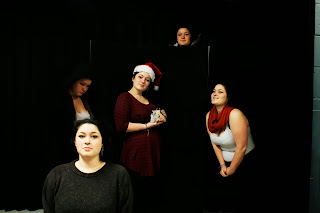
  • you then repeat the process until you have the desired amount of yourself in one image! 

This is my final image.  As it was that time of year I went for a christmas themed one. 


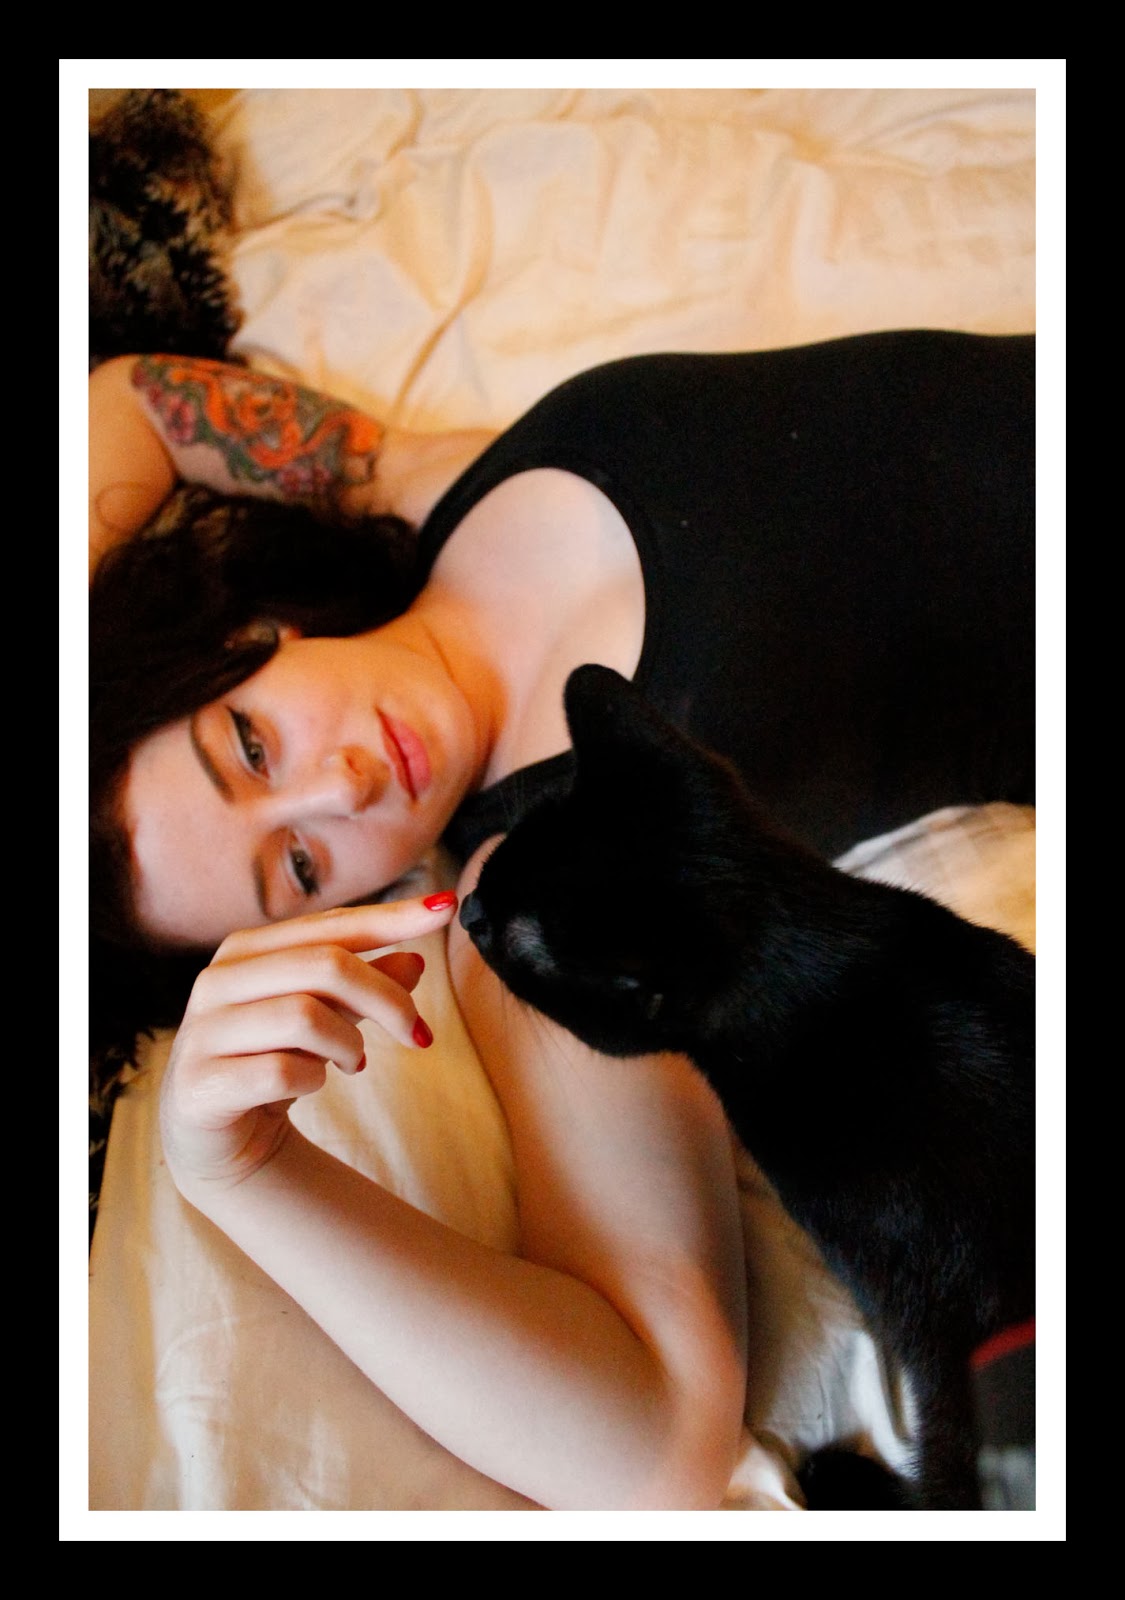
Boarders -  We've started adding boardings too our images through photoshop through the canvas tool.  We changed the size of the image to 8" by 12" and changed the resolution to 150.  We then changed the preferences to be in inches rather than centimetres and then used the canvas tool. 

These are my introduction to the subject images. 


Vignette - 


Vignette creates a halo around the picture highlighting the main subject in the picture making the rest of the picture dark.  It emphasises a certain point in the image to create a desired effect on the image.

There are different ways of creating this, you can make the rectangle a square or a circle, or you can have it any size and any colour.  The way I created mine was by;

  • Opening the image in photoshop.
  • Create another layer (cmd+J for a Mac).
  • Select the rectangular marquee tool (top left hand corner on the toolbar to the left of the screen) and draw the desired emphasised area of the image.
  • go to the 'select' drop down menu at the top of the screen and press 'transform selection' (you can now change the size and position of the rectangle) then press the return key.
  • create another copy of this layer (cmd+J).
  • while this copy is selected go to the bottom of the layer palette and press the button with the 'f' on it ('add a layer style' button) and press the 'drop shadow' button.
  • Move the size slider until you can see a line around the selection (move some of the other sliders until you are content with the size/shape of it) I preferred mine to be two lines rather than framing my subject. 
  • At the bottom left of the dialogue box there is something called 'stroke', make sure that is ticked, your selection may change colour, so you can just change that back to whatever the desired colour is.  You can change the colour by going to the bottom of the dialogue box there will be a 'fill colour' box, there you will have a colour palette that you can then change the colours there.
  • Change the position of the stroke to 'inside', you can do this from the drop down selection, you an then alter it until content and press 'ok'.
  • If the image isn't what you expected, select layer 1, then chose 'adjustments' in the image drop down at the top of the screen, then chose 'hue/saturation' and decrease it, you could also do the same on layer 2, but increase it instead if you wanted to make the vignette more obvious.  

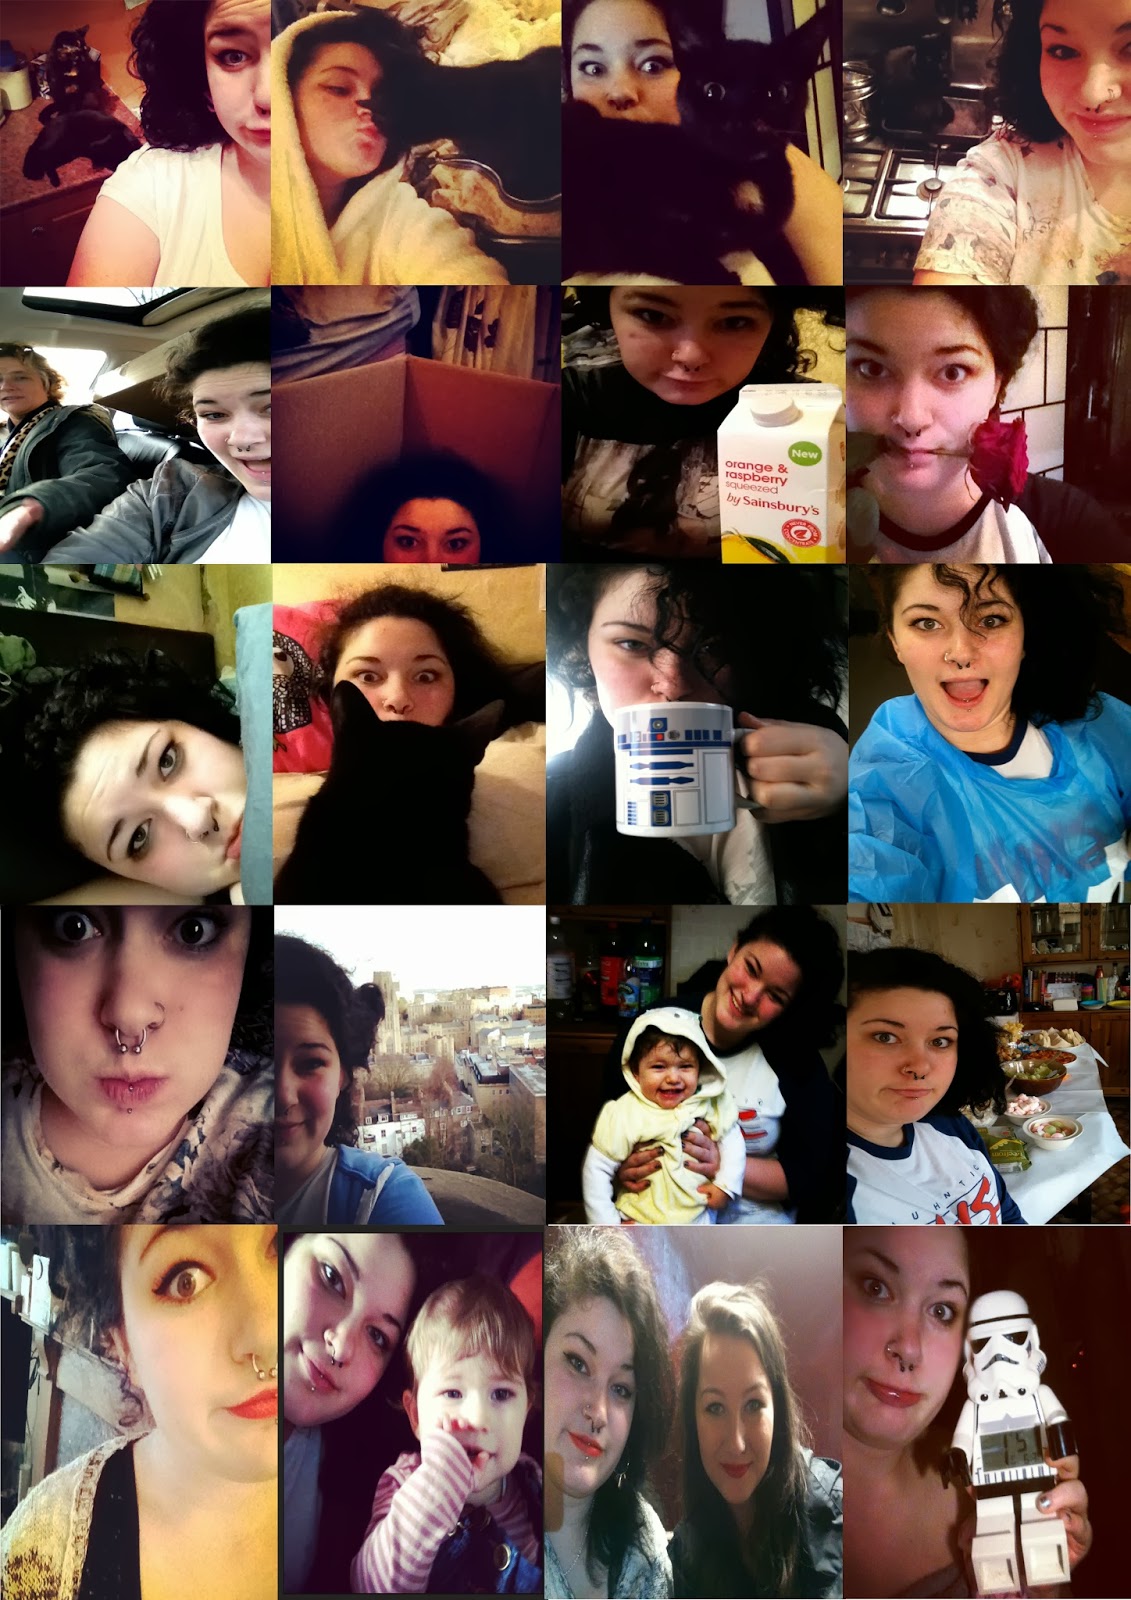
Selfie


The theme for this project is that they have no correlation with each other, it's more of a 'my life' sort of theme.


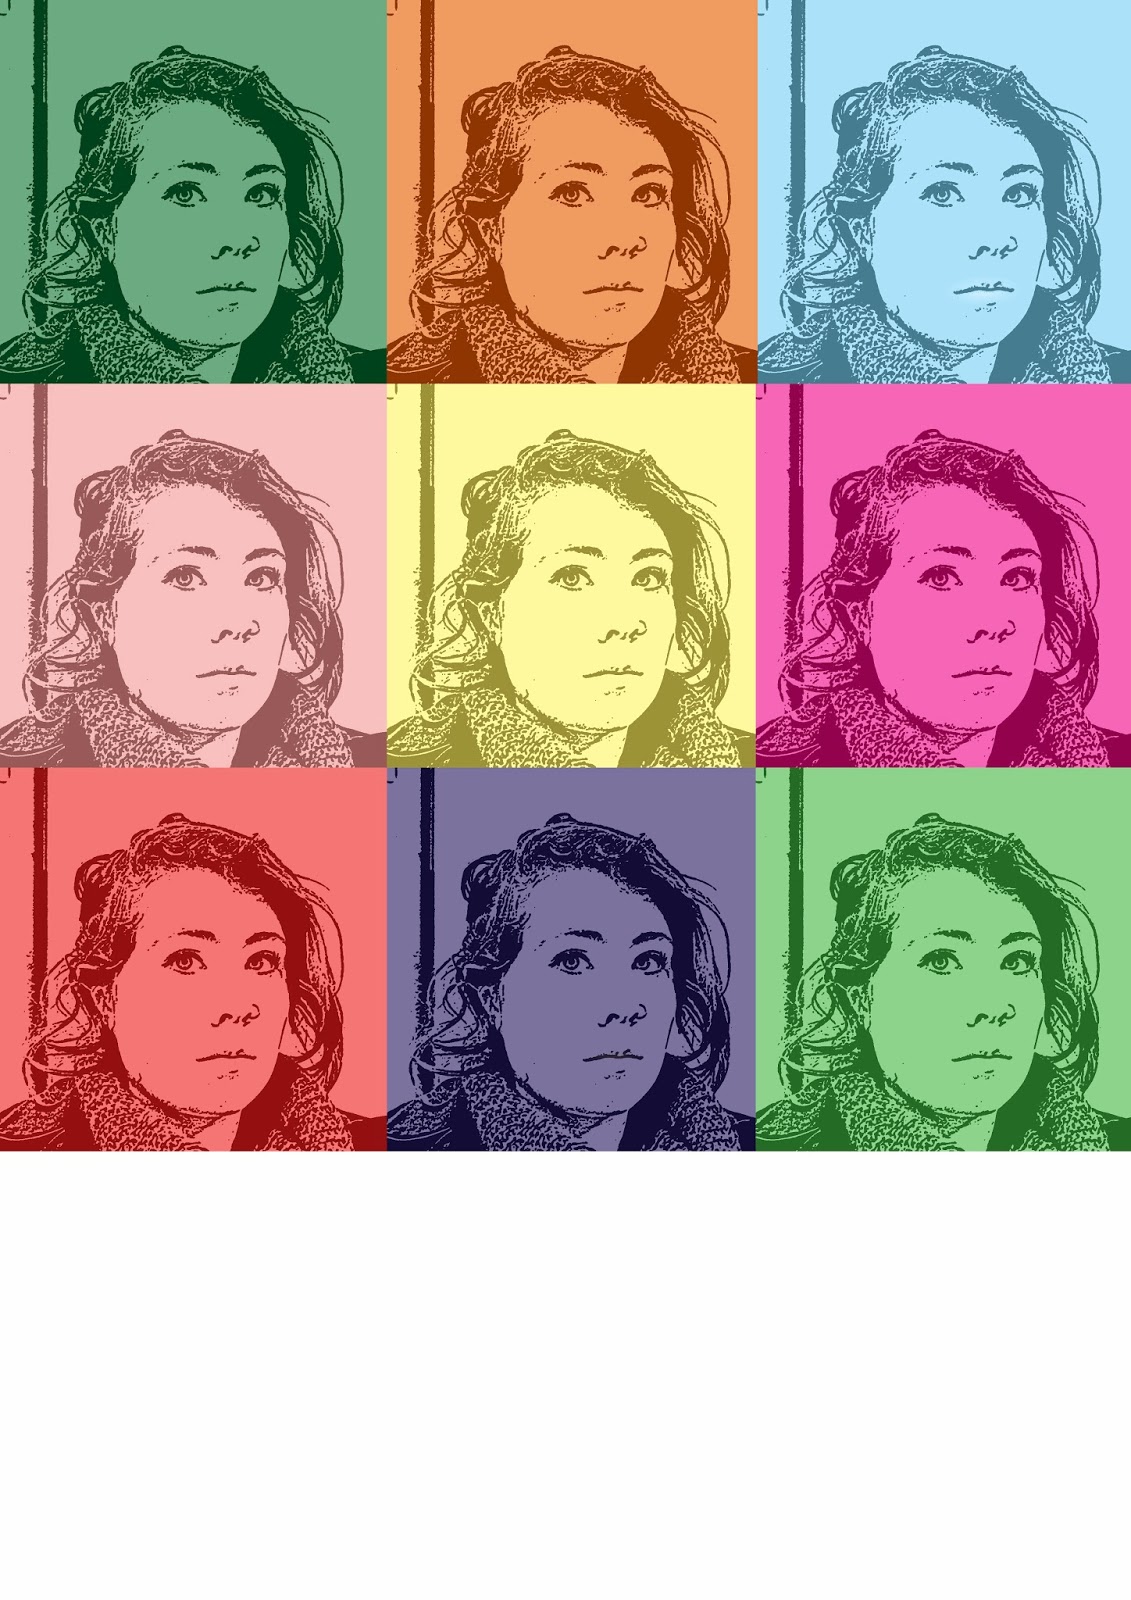
Andy Warhol -


How it was done -

  • If its not already a square image then you will need to crop it to make it square.
  • once you have you square portrait, go to the image drop down box, then adjustments, then channel mixer. 
  •   


Monday 21 October 2013

04 Communication in Art and Design

Photographer Copyright -

What is copyright?
http://www.copyrightservice.co.uk/copyright/p01_uk_copyright_law
Copyright, from what I can tell, is the reinforcement of protecting things like images. So people will watermark their images to stop people from stealing the images and using them as their own with giving the original photographer credit.

Who owns copyright?
The photographer owns the copyright, where as if the photographer is employed by a company that the photographer is then taking pictures for, the company will own the copyright.

How would we infringe the copyright?
It's a bit clear and simple as to how you would infringe the copyright.  All you would do is take someone's image and use it as your own without giving the original photographer credit, or take an image that is exactly the same as another photographers image on multiple occasions.

How can you legally copy images?
You can legally copy or have an image is you get in contact with the photographer and gain permission.  So if I wanted a professional photographer to photograph me, they would release a few images to me, and then I would probably have to pay to get the rest.  If you can't find the photographer after intensive research and have full evidence of you searching, the image then becomes an 'orphan' image for you to do as you please.  But usually you can't do that by yourself and that is when big companies have people to search for them.

How long does the copyright last?
The copyright lasts for 70 years after the photographer has died.  So 70 years after the day the person dies, the photograph is not under copyright.

How can we protect our images?
The best way to protect your image is to watermark your image.  We do this on photoshop and the best thing to do is to make sure that it isn't easy for someone to remove it, so people usually put a watermark on repeat all over the image, have it really big or have is diagonal.  This is a version of my copyright -


I created the watermark by opening up photoshop, adding a text box and writing my photography page name that I have on Facebook, a copyright symbol and the year the picture was taken.  I then changed the colour of the writing to a grey/white colour, and the size of the writing to 140pt.  I then clicked on the writing layer and changed it to overlay to give it that blending in affect.

Examples of copyright infringement - 
The Associated Press vs Fairey
Mannie Garcia photographed the picture of Obama for The Associated Press in 2006 (left) and Shepard Fairey created the image for the campaign posters for Obama in 2008 (right).  They came to a private settlement in January     2011 for a split in the profits of the work.  There wasn't an official court case, but the case was well known and is a good example of copyright cases going well as they usually can get very messy and some artist end up losing nearly everything.


Image Manipulation and the morals behind it -
Most images seen today for advertisements have been altered in way to make the subject look socially acceptable.  In these two images it is clear that they have been thinned out and become slightly more tanned to reach a social standard that people wont complain about as a lot of people find 'plus size' ladies not appealing.  Thankfully with the world and standards changing, plus sized models are becoming more and more realistic as the average dress size is a size 16 in the UK. 


Is it wrong? 

For people.. Morally, yes it's wrong but aesthetically no. 
For me I think all photoshopping of images to the point where the images are very different from the original is wrong.  Morally, what lesson are we teaching people? That we can just change how people perceive us in pictures?.  It also influences those to change and change themselves to be viewed pleasurably and not accept who they are.  

There are times when photoshopping an image is acceptable like when you correct the camera settings rather than correcting the model.  I found a good example of an image of where it was photoshopped to changes the lighting to make it appear more professional rather than looking like something taken with a point and shoot camera.    


Reading an Image -

V-J Day in Times Square by Alfred Eisenstaedt


The image consist of what looks like a couple reuniting after a long time at WW||.  You can see the men in uniform, and the woman that is the main focal point looks like she is wearing a nurses uniform.  You can see they are in Times Square, New York in the 30s-40s.

What is actually happening.
The picture was taken on August 14th, 1945.  V-J Day is the victory over Japan day, which was a big deal as it signified the end of WW||, and after Hiroshima this was a day of celebration.  Eisenstaedt had been photographing the whole celebration and couldn't get the right image, he had been following this sailor that was kissing every lady he could find, but he wasn't impressed with any of the pictures until he saw a flash of white behind him where the sailor had whisked around a nurse.


There was another image taken of the same scene, just at a different angle, but because it didn't include Times Square in the background and lacked characteristics, Eisenstaedt's picture was copyrighted and made famous.  The other image was taken by a U.S. Navy photojournalist Victor Jorgensen and he named it 'Kissing the War Goodbye'.

Now that the image was out there and was a very popular and well-loved image, identifying the two was the next step.  A woman called Edith Shain wrote to Eisenstaedt and claimed it was her.  After she had come forward, there was a mission to find the sailor, so the editors of Life had posted looking for their mystery man.  But that was potentially a mistake as 11 men and 3 more woman came through and said that it was them.  After this it became a very big case to solve, because people started matching scars and height etc.  From this they had said that Edith Shain could not have been the nurse as her height didn't match.  This took them back to square 1.  To this day it is still unclear of who the couple are, but at the minute it is believed that Glenn McDuffie is the sailor and Greta Friedman is the nurse.  

This image was such a huge deal that it had even been converted to colour.

I really like the image, I have seen it before and I've always considered it a very inspiring and charming image.  It looks like it was a very spontaneous moment and before researching the image knowing they don't know each other, it gives you a very carefree and joyous feel, you can tell they're celebrating.


Triptych -

The whole idea for the triptych image was to get 3 image that was a self portrait without having ourself in the image at all, it had to be something that describes us and what we like and who we are.  I have 20 cats so thats pretty self explanatory as to the cat image.  My mum is a flight nurse who works with a travel insurance company who escorts patients home when they're injured abroad, so I'm always around planes and travelling and have accompanied my mum to many conferences abroad.  The cooked breakfast is because I eat a lot, and I go to festivals every year so a cooked breakfast is always on the menu for me.

We had the option to lay them out in any order, and I tried to be not so uniformed and went for something a little different, it wasn't a statement compared to the others, but it was different enough.

Overall I enjoyed taking pictures for this because it challenged me to really think about what describes me well enough that other people would understand as well.


Two minute presentation -


For this presentation I got given a photographer to create a two minute presentation to showcase their famous images.  I got given Patrick Demarchelier who is a French fashion designer. 


On the first slide I gave basic information as an introduction to what he does before I had given the thing like where he's from and his age etc. I spoke about how he's probably done work you haven't seen before and how he's probably just done your average fashion shoots, and then went onto say how he has done adverts that you see everyday in House of Frasier and things like that that you don't even notice.


The next seven pages consisted of the images that people will have seen in shops and on telly and in magazines etc.  I decided I wanted a picture per page rather than have them 4+ to a page.


On page nine I finally spoke about the facts so his age and how cool I thought it was that he is 70 yet he is still photographing as great as ever, and just promped from there saying who he was in the best dressed over 50's with.


and on the final page I spoke about the fact he had cameos in chick flick films Devil Wears Prada and Sex in the City.


5 Minute presentation -

For the five minute presentation we had to chose our own photographer so I chose someone called Rukes, his real name is Drew Ressler.  I chose him because eventually I want to end up photographing gigs and festivals and I listen to a lot of different types of music but my main genre is rock and metal and most adaptations around the two genres, so people usually assume I want to photograph festivals like Download etc, which I do but it's not the only thing I want to stick to.  I eventually found Rukes and I knew instantly that he was the photographer I wanted to write about because for me his work creates an atmosphere and makes you understand and feel what is happening in the picture, which is what I want to do.  For this presentation I added a song to give everyone the same feel that I get from looking at the image.  The song I added was LRAD by Knife Party.


On the first and second page I changed the order from the first presentation, so I spoke about him.  I promped more on this than I did on the last presentation, I spoke about the year he moved from NY to LA and the year he started working with DJ's and working in clubs.


On the third page I showed a picture from the earliest work I could find so I could show how far he has made it, I spoke about how inspiring it is and about how it proves that no one starts out perfect.


On the fourth page I spoke about who he has photographed.  The first person on there is Deadmau5 (pronounced dead mouse, real name Joel Zimmerman) who is the main person he photographs for. I showcased two images per performer, so the fifth page is aanother picture of Deadmau5.  I also spoke about Deadmau5's persona with the head piece he wears and how it is always changing and how a lot of the time they will have graphics on the head piece.


On the seventh and eighth page I showed two images he had done of Skrillex (real name Sonny Moore), Skrillex is also someone he mostly photographs.


On the ninth and tenth page I showed two images he had done of Calvin Harris, someone he hasn't done that much work with.


On the next six pages I displayed my favourite images and I spoke about why I liked them and chose them.  I had said I admire his symmertry, vivid and vibrant colours, and the way he creates an atmosphere. 


Durex Poster -


We had to make a poster for Durex, and we did this at the beginning of the year so it was at a time when we didn't really know each other, and I found this broke the ice with the group I was in because we all found it comfortable to talk to each other about sex, but I can imagine it being an awkward subject for others who aren't that comfortable with talking about sex.  I came up with the idea of different flavoured condoms, and from that we all came up with the idea that by not using condoms you don't know what you could get, and thats how we got the 'life is like a box of chocolates' reference from Forrest Gump.  We wanted the box to make the flavoured condoms look appealing so by showcasing the different flavours it would make using a condom more fun and more appealing.  We then found out all the different types of condoms that were available.  We didn't finish the poster but we all had the same idea and concept of what we wanted.  The group I was in was very easy to get a long with